Gabion Wall Installation Guide: Step-by-Step for Retaining Walls
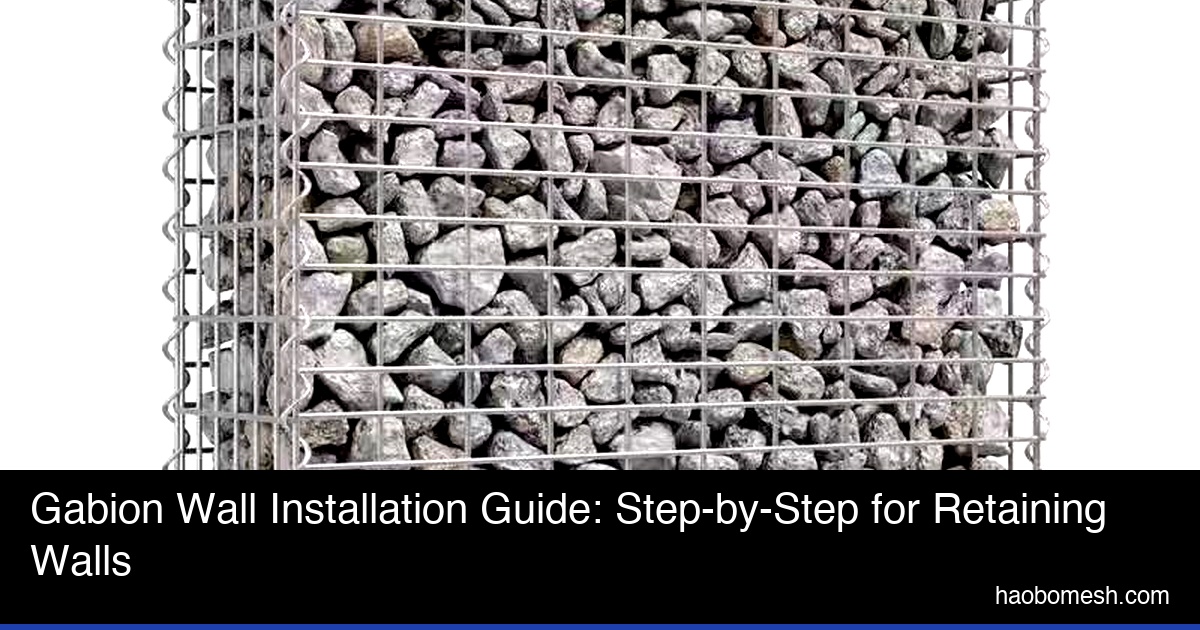
Installing a gabion retaining wall is straightforward compared to concrete construction, but it still requires careful planning, a level foundation, and proper lacing technique. A well-built gabion wall can last 50–100 years, while a poorly installed one may bulge, settle unevenly, or lose stone through the mesh. This guide walks through the entire installation process from site prep to final inspection.
Key Takeaways
- Foundation — A level, compacted granular base is the most important step; uneven foundations cause wall failure.
- Assembly — Open baskets on site, connect panels with lacing wire, and install internal diaphragms before filling.
- Stone fill — Use hard, durable stone 1.5× the mesh aperture; fill in layers and avoid large voids.
- Lacing — Tie every mesh intersection along basket edges; lids must be pulled tight and wired down.
- Drainage — Backfill with free-draining material and provide outlet pipes to prevent hydrostatic pressure.
Table of Contents
1. Tools and Materials Needed
Before starting, gather the following tools and materials:
| Item | Purpose |
|---|---|
| Gabion baskets | Primary wall units |
| Lacing wire / C-rings | Connect panels and close lids |
| Stiff wire cutters | Trim lacing wire |
| Pliers / hog ring pliers | Tighten and twist wire |
| Spirit level and string line | Check alignment and level |
| Compactor plate or roller | Compact base and backfill |
| Geotextile fabric | Separate fill from soil behind wall |
| Hard, durable stone | Gabion fill material |
| Drainage aggregate | Free-draining backfill |
| Excavation equipment | Dig foundation trench |
2. Site Preparation and Foundation
Start by clearing the alignment of vegetation, topsoil, and loose material. Excavate a trench to the design depth — typically 150–300 mm below the base of the first course of baskets, depending on soil bearing capacity.
Key foundation requirements:
- The trench bottom must be level along the full length and width of the wall.
- Place a 100–150 mm thick layer of compacted granular material (crushed stone or gravel) as the leveling course.
- Compact to at least 95% of standard Proctor density where possible.
- Check levels with a spirit level every 2 m; correct deviations before placing baskets.
A common mistake is to place gabions directly on unprepared soil. Soft or uneven ground causes differential settlement, which leads to leaning walls and cracked panels.
3. Step 1 — Assemble the Gabion Baskets
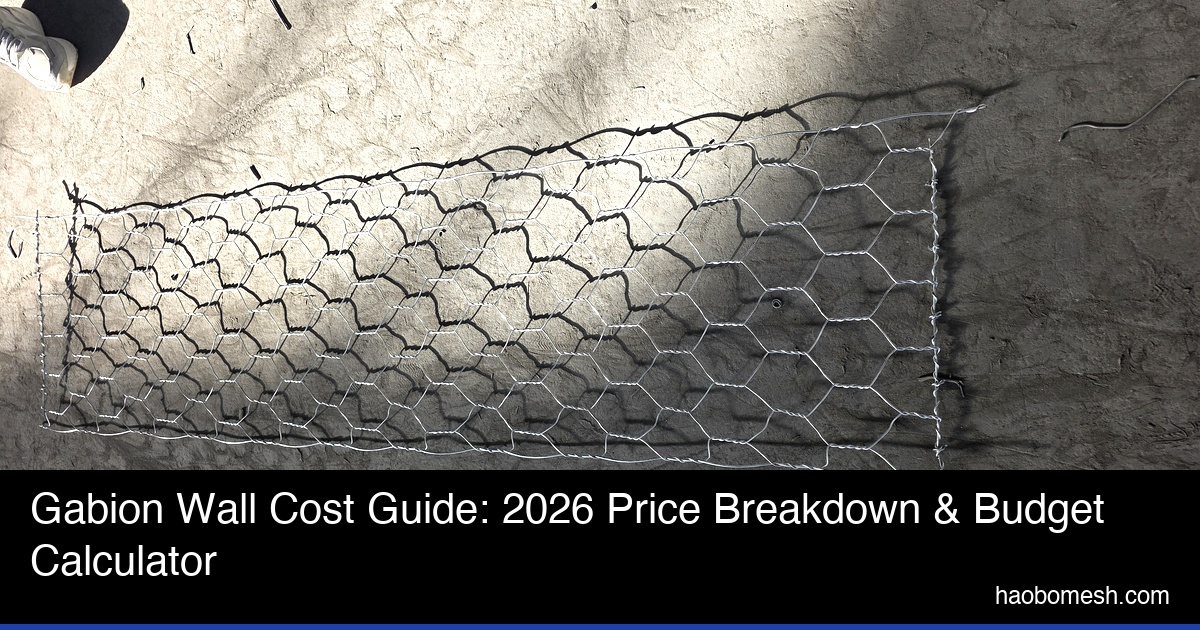
Gabion baskets are delivered flat-packed. To assemble each unit:
- Unfold the basket on a flat surface.
- Fold up the side, front, back, and end panels to form the box shape.
- Use lacing wire to stitch the vertical edges together, making a continuous spiral or ring connection.
- Install internal diaphragms (dividing panels) at the spacing specified by the design, usually every 1 m.
- Check that all corners are square and the basket is not twisted.
Diaphragms prevent the basket from bulging outward when filled. They also create internal compartments that keep the stone evenly distributed during and after placement.
4. Step 2 — Install Baskets and Tie Wires
Place the assembled baskets on the prepared foundation in the correct alignment. Use a string line to keep the front face straight. Important steps:
- Adjacent baskets: Tie adjacent baskets together along their vertical edges using lacing wire or connecting rings every 150–200 mm.
- successive courses: Tie the upper basket to the lower basket at every mesh intersection along the perimeter.
- Stepped walls: Set back each upper course by 100–300 mm for stability, depending on wall height.
- Alignment check: Verify level, plumb, and line after every course.
Connecting baskets turns individual units into a monolithic structure. Skipping connections is one of the fastest ways to create a weak wall.
5. Step 3 — Fill with Stone
Stone selection and placement directly affect the wall’s appearance, durability, and stability. Follow these rules:
- Use hard, durable, angular stone such as granite, basalt, or dense limestone.
- Stone size should be at least 1.5 times the mesh aperture to prevent migration through the cage.
- Place stones by hand near the exposed faces to maintain a neat appearance; backfill the core with larger or less uniform stone.
- Fill each cell in roughly 300 mm lifts and slightly overfill before closing the lid.
Machine dumping is faster but can damage the mesh and create uneven faces. For aesthetic walls, place the front-face stone carefully by hand.
| Mesh Aperture | Minimum Stone Size | Recommended Stone Size |
|---|---|---|
| 60×80 mm | 120 mm | 150–200 mm |
| 80×100 mm | 150 mm | 200–250 mm |
| 100×120 mm | 180 mm | 250–300 mm |
6. Step 4 — Close Lids and Secure
Once the basket is filled slightly above the top edge, pull the lid down tightly and lace it to the side panels. The lid should be under tension so it cannot lift or sag.
Lacing pattern: Use a continuous spiral of wire through every mesh intersection along the lid edges. For welded mesh gabions, use C-rings at 100–150 mm spacing. Pull the wire tight and tuck the ends inside the basket so they do not protrude.
After securing the lid, trim any excess wire and check the basket shape. The front face should be flat, and the top should be level.
7. Step 5 — Backfill and Drainage
Behind the gabion wall, install a geotextile separation layer if required by the design. Then backfill with free-draining granular material. Do not use clay or fine silty soil directly behind the wall because it can trap water and increase hydrostatic pressure.
Drainage recommendations:
- Use 300–500 mm of clean crushed stone or gravel as the backfill zone.
- Install perforated drainage pipes at the base of the wall if the soil is not free-draining.
- Compact backfill in 300 mm lifts to avoid settlement.
- Direct drainage outlets away from the wall foundation.
Good drainage is essential for gabion walls. Unlike concrete walls, gabions are permeable, but water must still be able to exit the backfill zone freely.
8. Safety Tips and Quality Checks
Safety and quality checks during installation protect both workers and the long-term performance of the wall:
- PPE: Wear gloves, safety boots, and eye protection when handling wire and stone.
- Heavy lifting: Use mechanical equipment for stone; do not overfill baskets beyond safe handling weight.
- Alignment: Check front-face line and level every 2 m; correct before adding the next course.
- Connections: Inspect every laced joint; missed connections are a common failure point.
- Stone quality: Reject soft, weathered, or undersized stone that could degrade or wash out.
- Drainage: Verify that outlet pipes are clear and sloped away from the wall.
HowTo: Structured Installation Steps
This section provides a machine-readable summary of the installation steps above. Search engines and AI assistants can use this data to show step-by-step rich results.
9. Conclusion
A properly installed gabion wall starts with a level foundation, follows a careful assembly and lacing sequence, and finishes with correct stone fill and drainage. While gabions are more forgiving than rigid concrete walls, cutting corners on foundation preparation, basket connections, or stone quality will shorten the structure’s life and increase maintenance costs.
If you are unsure about the design or installation conditions, consult a geotechnical engineer and work with an experienced gabion supplier who can provide technical support during construction.
Frequently Asked Questions
Do I need concrete for a gabion wall foundation?
Usually no. A 100–150 mm thick compacted granular base is sufficient for most low-to-medium height gabion walls. Concrete is only needed for very poor soils or engineered high walls.
Can I use any stone to fill gabions?
No. Use hard, durable, angular stone at least 1.5 times the mesh aperture. Avoid soft, rounded, or degradable stone that can shift or wash out.
How long does it take to install a gabion wall?
A small team can install 10–20 m² of gabion wall per day, depending on stone supply, basket size, and site access. Larger projects may use machinery to speed filling.
Need Gabion Installation Support?
We supply detailed installation drawings and technical support for every project. Contact us for guidance.