Gabion Wall Installation Guide: Step-by-Step for Engineers and Contractors

Introduction: Why Proper Installation Matters
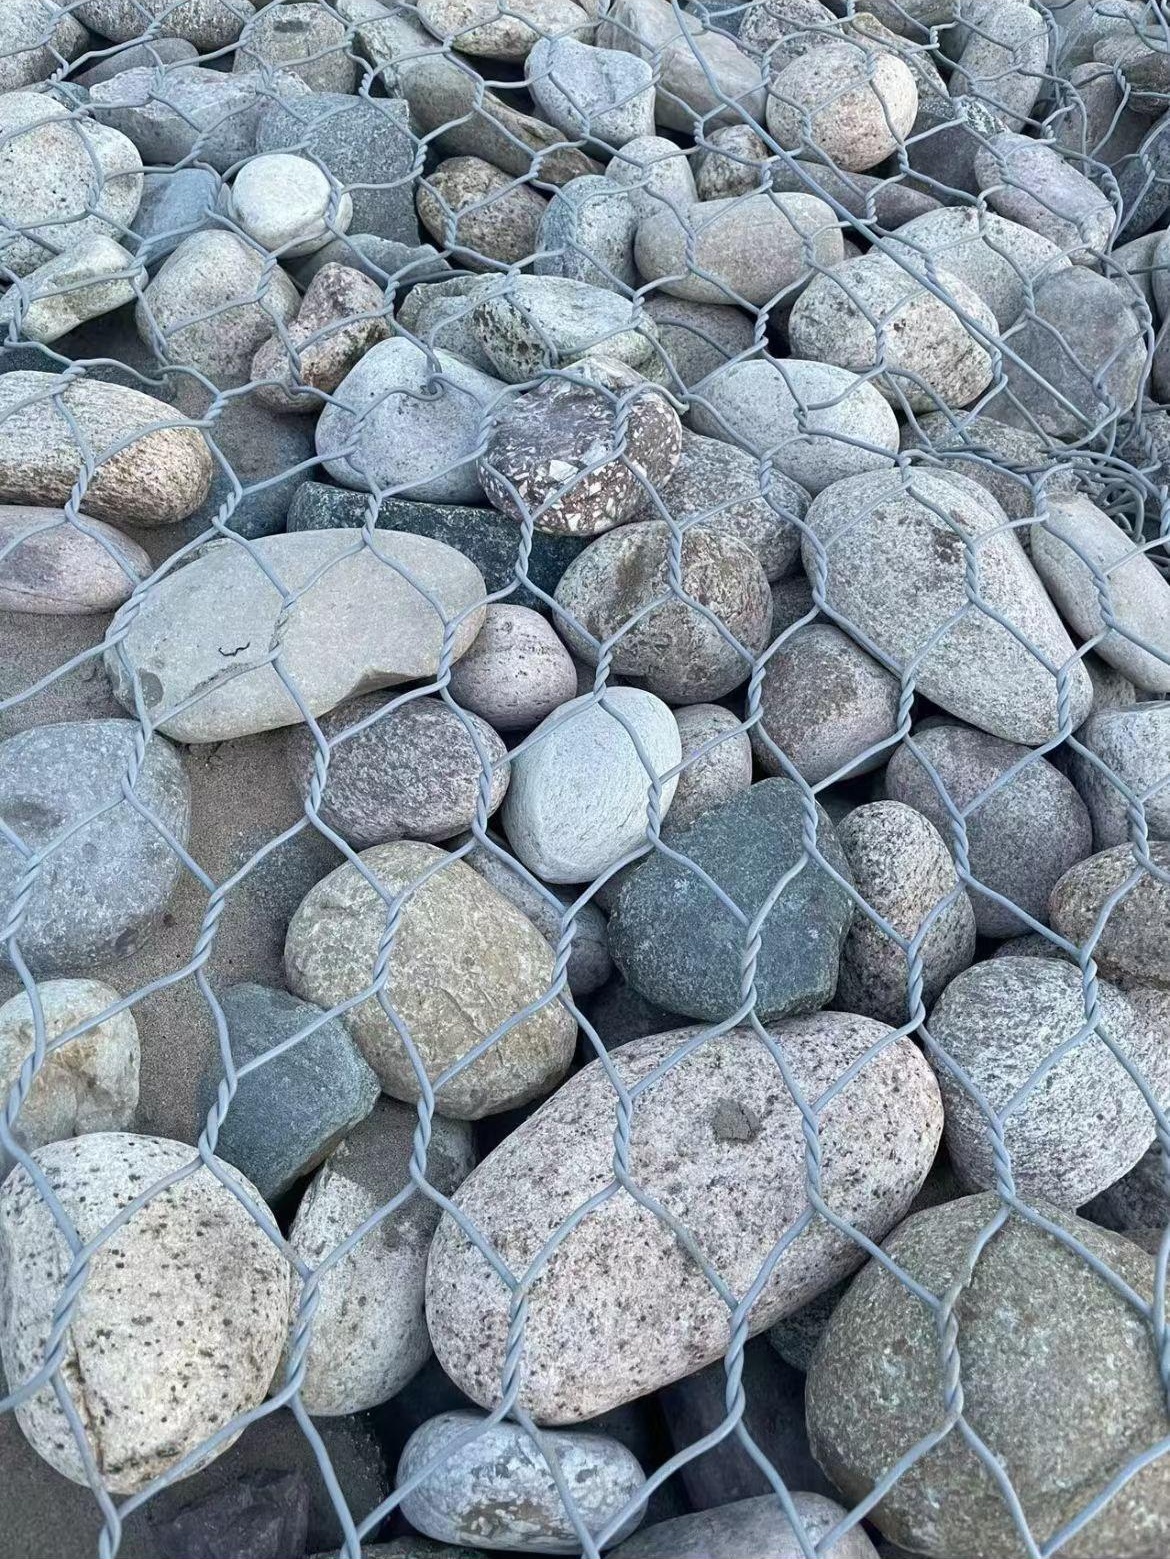
Gabion walls are one of the most reliable and cost-effective solutions for retaining walls, riverbank protection, and slope stabilization. However, even the best quality gabion mesh will fail if installed incorrectly. Common mistakes like improper foundation preparation, uneven stone filling, or inadequate wire connections can reduce a wall's lifespan from 50 years to just 5.
This guide walks you through the complete installation process, based on field experience from construction projects across Southeast Asia, Africa, and South America.
Pre-Installation: Site Preparation and Tools
Required Tools and Materials
- Gabion baskets: Folded flat for transport, expanded on site
- Lacing wire: Same specification as basket wire (typically 2.2-2.7mm)
- Pliers / wire twisting tool: Heavy-duty for 2.7mm wire
- Spirit level: At least 1.2m length
- Measuring tape: 30m
- Hammer / sledgehammer: For driving pins and adjusting stones
- Gloves and safety gear: Essential — wire edges are sharp
- Stone fill: Hard, durable rock, 100-250mm diameter
Site Preparation Checklist
- Clear vegetation and topsoil from the foundation area
- Excavate to firm ground — at least 300mm below the wall footprint
- Level the base using a laser level or water level
- Install geotextile fabric behind the wall location to prevent soil migration
- Compact the foundation to at least 95% Proctor density
- Add a gravel drainage layer (100-150mm thick) behind the wall position
Step 1: Unfold and Assemble Gabion Baskets
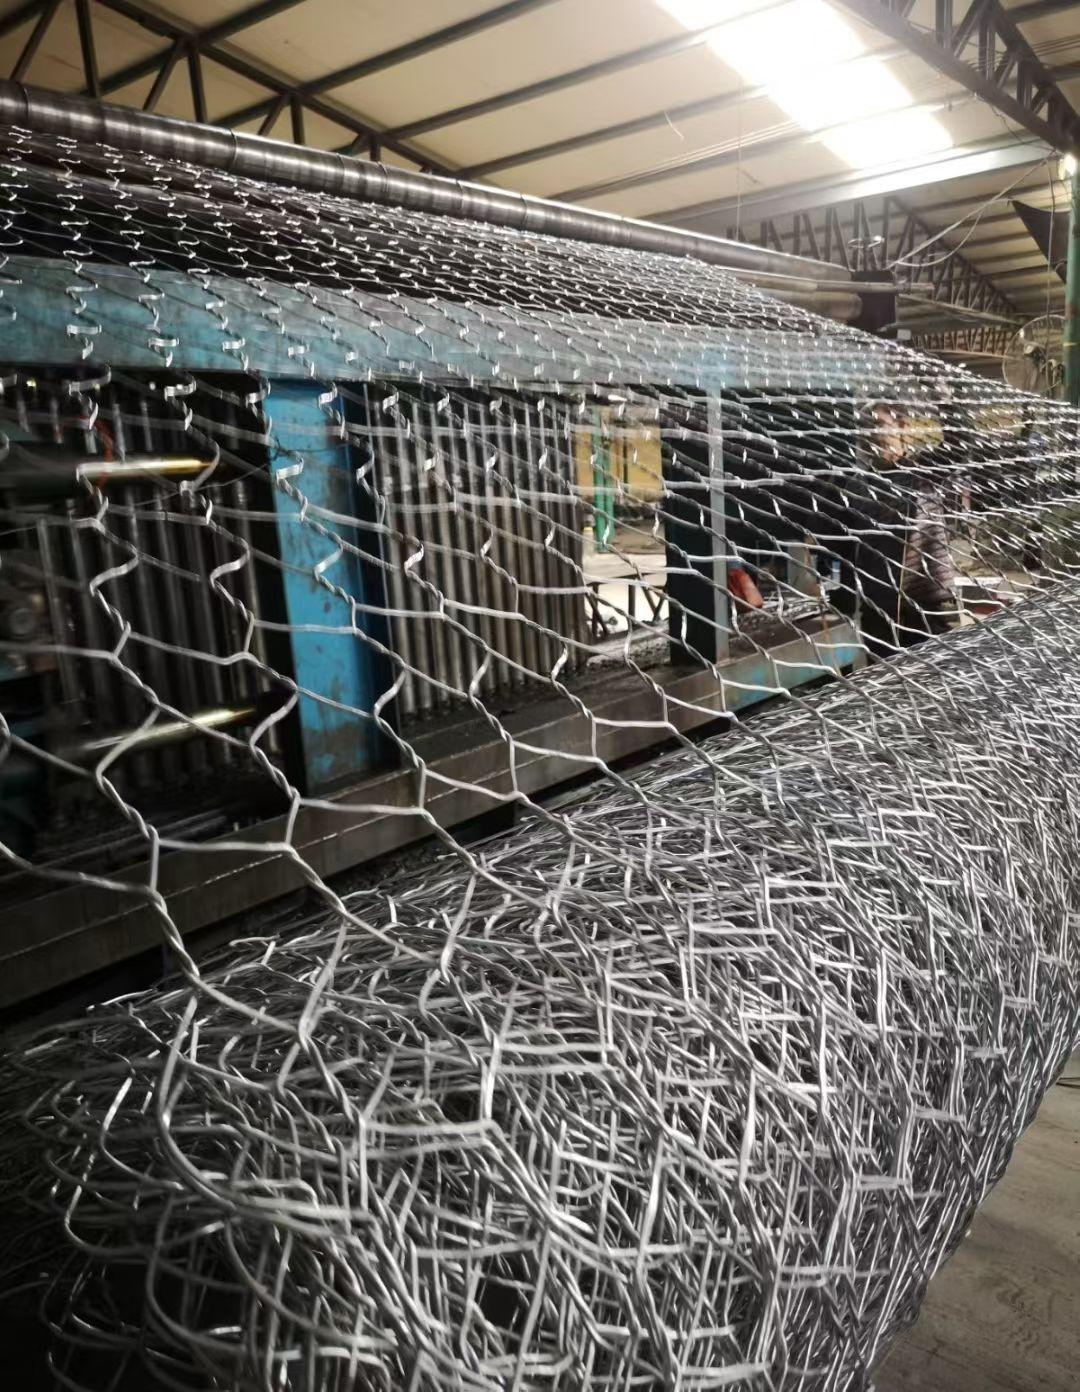
Gabion baskets arrive folded flat to save transport space. Assembly on site is straightforward:
- Unfold the basket on flat ground near the installation point
- Raise the side panels to 90 degrees — they should stand upright on their own
- Raise the end panels and align with side panels
- Secure all corners with lacing wire, starting from the bottom
- Install internal diaphragms (dividers) at 1m intervals if the basket is longer than 1m
- Double-check squareness — measure diagonals; they should be equal
Critical tip: Always lace corners from the bottom up, not top down. Bottom-up lacing maintains tension throughout and prevents sagging when filled.
Step 2: Position and Connect Baskets
- Place the assembled basket on the prepared foundation
- Check level in both directions — adjust with small stones or compacted sand if needed
- Connect adjacent baskets along all touching edges using lacing wire at 100mm intervals
- For multi-layer walls: connect bottom baskets to top baskets along the entire perimeter
- Anchor the first row using steel pins (12-16mm diameter, 500mm length) driven through the base into the ground at each corner and diaphragm
Step 3: Stone Filling — The Critical Step
Stone filling is where most installation errors occur. Follow these rules strictly:
Stone Selection
- Size: 1.5 to 2 times the mesh opening size (e.g., for 80mm mesh, use 120-160mm stones)
- Shape: Angular stones pack better than round stones
- Quality: Hard rock (granite, basalt, limestone) with no cracks or weathering
- Durability: Should not degrade in water or freeze-thaw cycles
Filling Procedure
- Fill in layers of 250-300mm (one-third of basket height at a time)
- Place larger stones along the face for appearance
- Fill the interior with smaller stones to minimize voids
- Hand-pack stones against the mesh face — do NOT throw stones from a distance
- Install cross-bracing wires (horizontal tie wires) at each layer to prevent bulging
- Overfill by 25-50mm to allow for settlement
- Close the lid and secure with lacing wire along all edges
Common mistake: Filling a basket completely before installing cross-braces. This causes the face to bulge outward permanently. Always install braces at each layer.
Step 4: Multi-Layer Walls
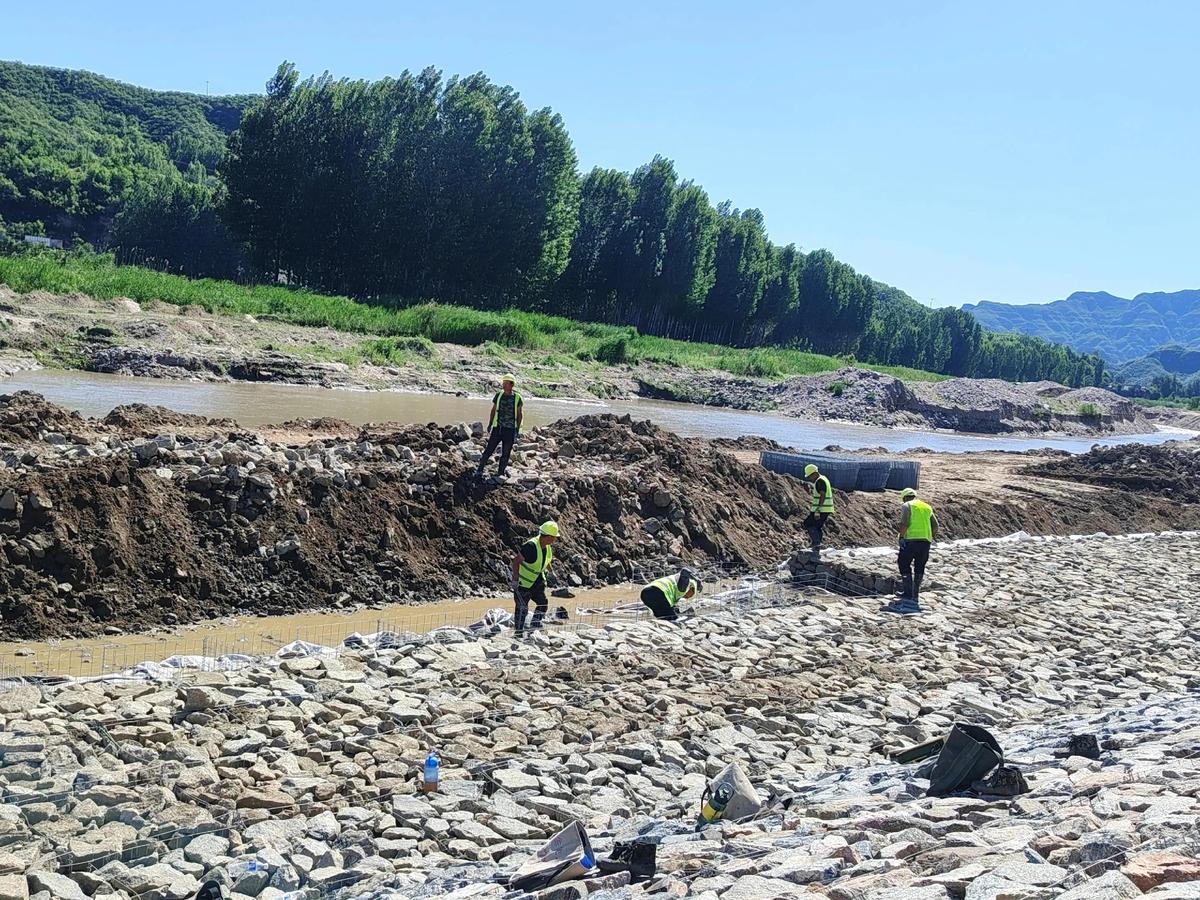
For walls higher than 1m, multiple layers of gabion baskets are stacked:
- Stagger vertical joints — like brickwork, offset each layer's joints by at least 0.5m
- Set back each layer by 50-100mm (battered wall) for stability
- Connect layers with lacing wire around the entire perimeter and along diaphragms
- Continue the drainage layer behind each layer of baskets
Quality Control Checklist
| Check Point | Standard | Method |
|---|---|---|
| Foundation level | ±10mm over 3m | Laser level |
| Wire connections | Every 100mm, 3+ twists each | Visual inspection |
| Cross-braces | Every 300mm vertical layer | Count and verify |
| Face alignment | ±20mm from design line | String line |
| Overfill | 25-50mm above rim | Straight edge |
Safety Considerations
- Wear cut-resistant gloves — gabion wire edges are sharp
- Use mechanical lifting for baskets larger than 2m x 1m x 1m (empty weight >50kg)
- Never stand directly below a suspended basket during crane operations
- Wear steel-toe boots — dropped stones can cause serious injury
- Install temporary bracing for walls over 2m during construction
Conclusion
Proper installation is the difference between a gabion wall that lasts 50 years and one that fails in 5. Following this guide ensures your gabion structures meet design specifications and provide reliable, long-term performance.
Need gabion baskets for your project? Contact Haobo Metal for competitive pricing on ISO-certified gabion mesh, lacing wire, and complete installation hardware packages.